HOW TO DO A CHANEL REVERSE FRENCH MANICURE
How to do a Chanel reverse french manicure. Since a bit I was obsessed by the idea of doing a reverse french manicure like the one Chanel used for the new Reflets d’étè – Summer 2014 campaign.
Unluckily I’ve always been a disaster doing this kind of things. To be sincere I am not able to do any kind of nail art. Every time I try the result is terrible. Just paint my nails is too complicated for me, you can imagine making a nail art. That’s why I accepted to never see reverse french manicure on my nails.
HOW TO DO A CHANEL REVERSE FRENCH MANICURE IN THE EASIEST POSSIBLE WAY
I asked myself what you need for making it or if you need a nailpolish with a slim brush.
In a bit a light turns on in my brain and I knew what I needed. For doing a perfect reverse french manicure Chanel inspired I just needed few simple steps.
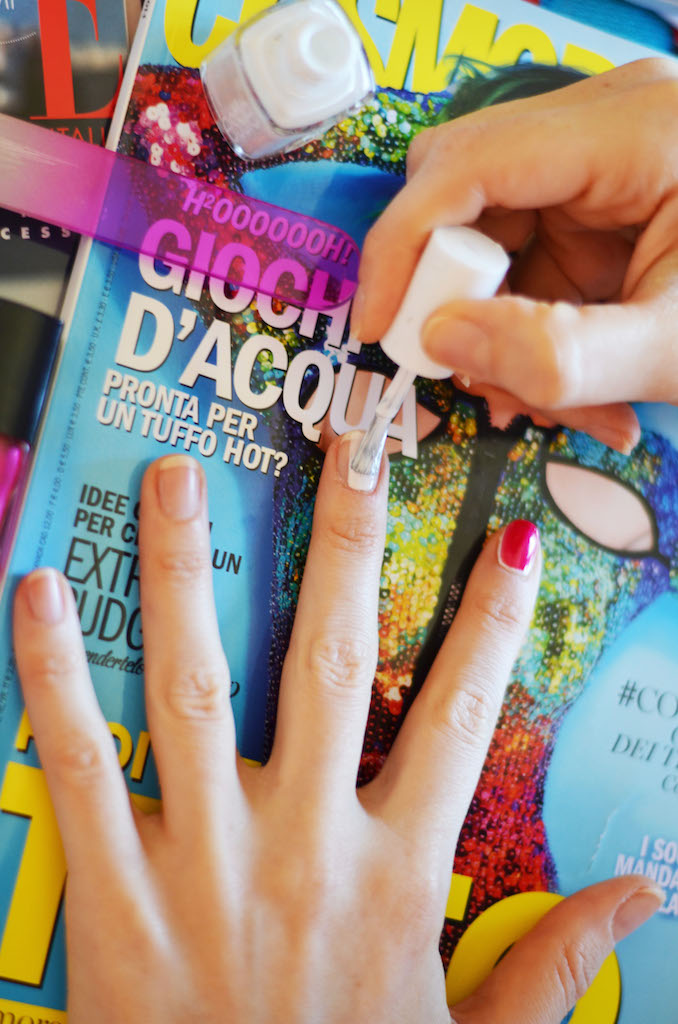
Firstly I pushed in the cuticles and I shape my nails. Then I applied a white nailpolish all over the nail (the one for the classic french manicure) and I left it dry. When it was dried I applied the colored nailpolish in the central part of the nail (I choose Chanel Tentation) being careful to not cover the white zone on the two sides and on the basis. In the end a hand of top coat for making everything shining. Voilà, the reverse french manicure was done.
You can’t imagine how happy I was for my first nail art. I showed off my nails for the whole day. That’s the demonstration that everyone ca a reverse french manicure with success.